


Microphones | Logitech G
Buy now, pay later with payment options services like Klarna. Learn more
Free shipping on orders over $29.
Easy returns and 30-day money back guarantee. Learn more
Colors
PRICE
Sort By
0 Results

BUY NOW, PAY LATER WITH PAYMENT OPTIONS SERVICES LIKE KLARNA.
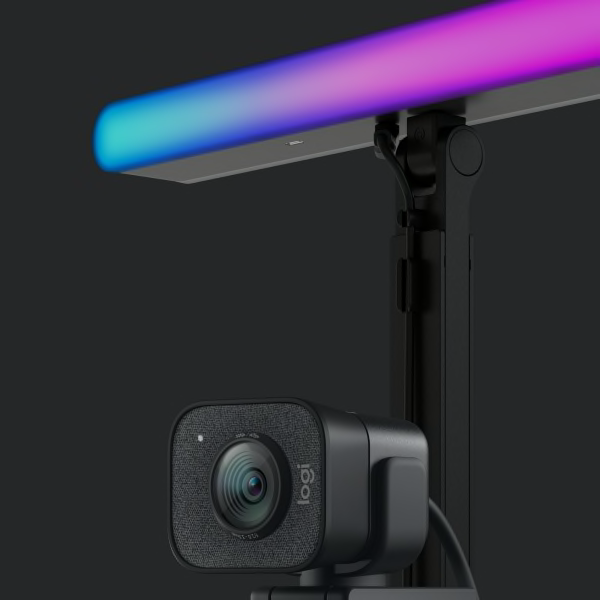
Cameras & lighting
Compare up to 4 products
